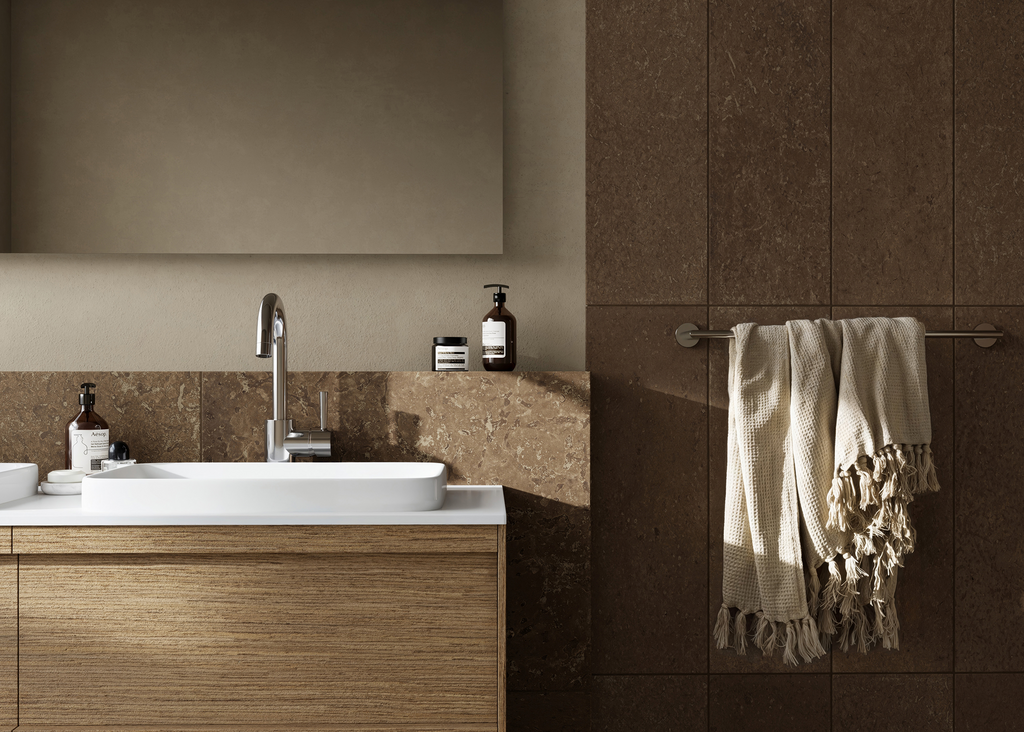
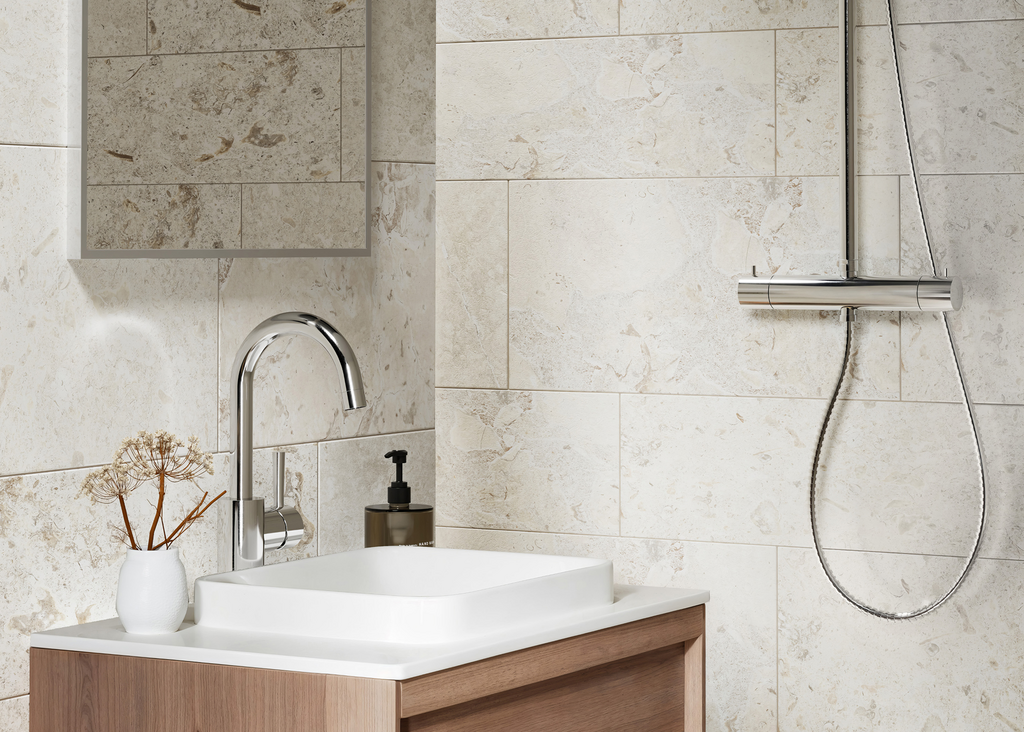
A traditional limestone flooring pattern
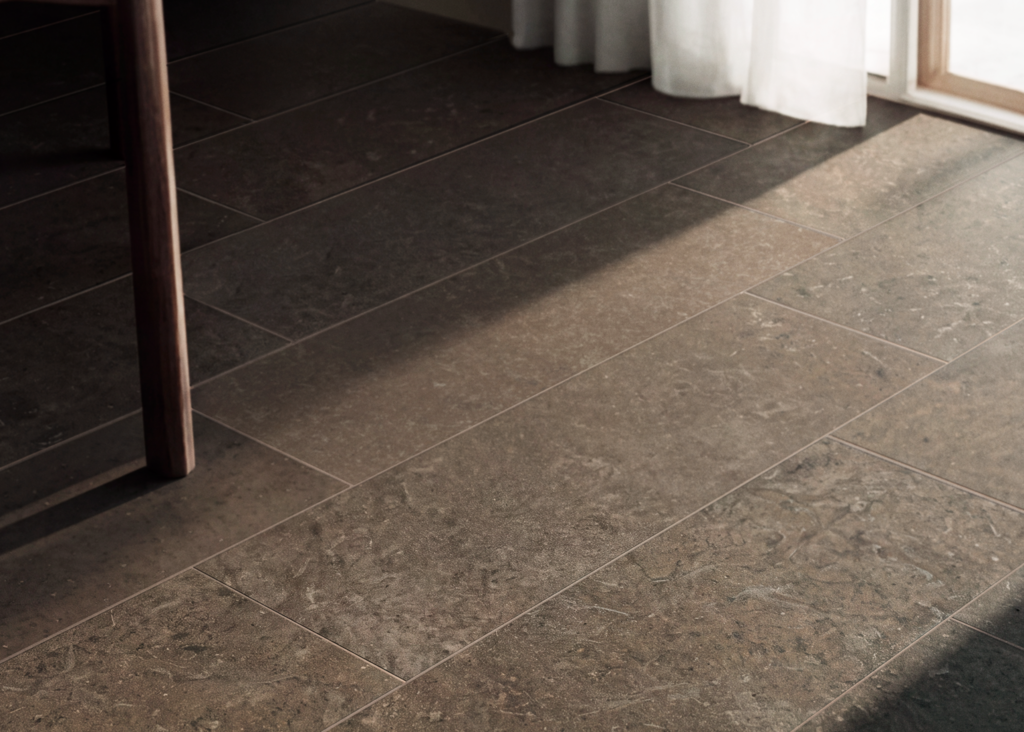
You have probably seen this laying pattern before. Elongated stone tiles arranged in alternating narrow and wide rows, with joints staggered from one row to the next. Perhaps you have noticed the floor’s gentle rhythm without thinking about what creates it.
This overall effect is what we call a traditional flooring pattern. With Bricmate’s porcelain stoneware in 30×60 cm and the new 20×60 cm format, you can create the same feel, inspired by historic limestone floors. Here, we explore the tradition behind the pattern and explain how to bring the two formats together.
Rooted in the limestone tradition
Limestone has a long history as a flooring material in Sweden. From the Renaissance onwards, honed limestone tiles became more common, and during the 17th and 18th centuries the stone was used in entrance halls, stairwells and grand halls with stone floors, among other settings. The way the tiles were finished and laid gave floors a variety of looks, from simple rows to geometric patterns.
Limestone from Öland also found a place far beyond Sweden. Floors in several of Christopher Wren’s buildings in London, including St Paul’s Cathedral, built after the Great Fire of 1666, are laid in limestone from Öland. This is one example of the stone’s reach and importance as a building material.
Over time, thinner limestone tiles in random lengths became increasingly common. In this arrangement, the stones have the same width within each row but vary in length. The joints are staggered between rows, giving the floor a varied rhythm. This tradition inspires our traditional flooring pattern using 20×60 and 30×60 cm tiles. Bricmate’s formats also have an interesting parallel with the historic system of measurement: 60 cm is close to one Swedish ell, while 30 and 20 cm correspond to approximately half and one third of an ell respectively.
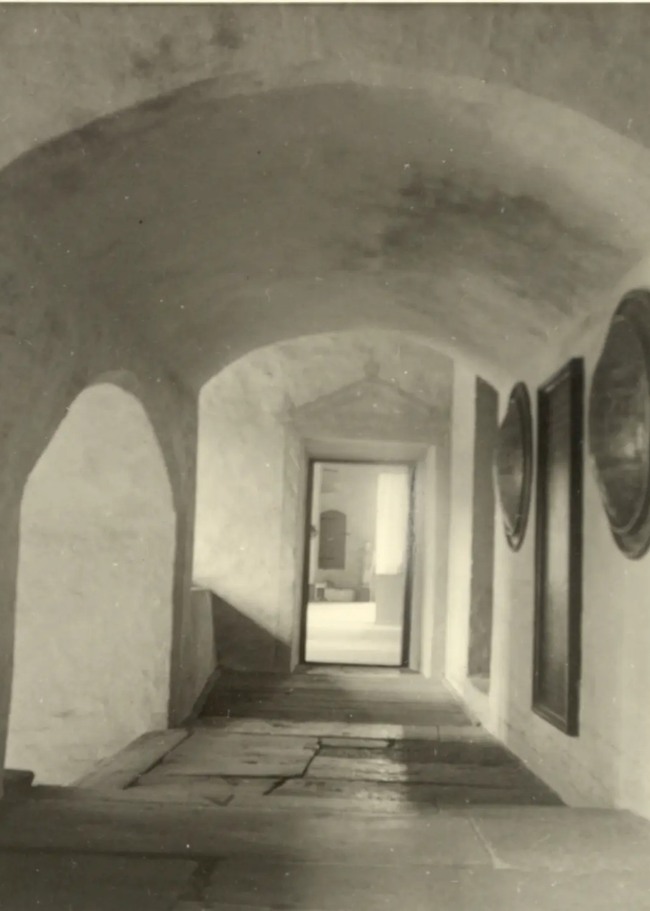
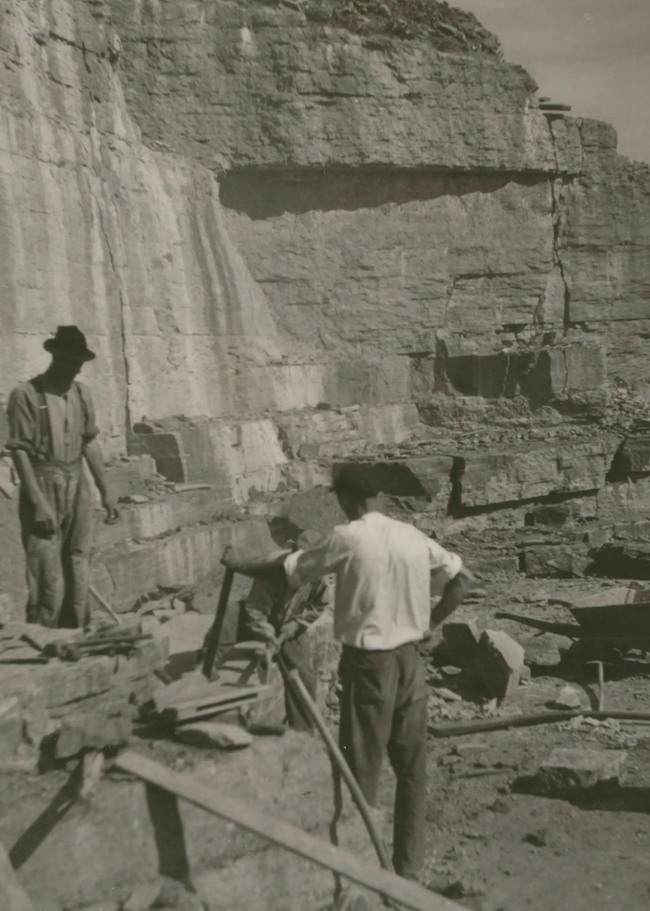
Left: The King’s Staircase at Kalmar Castle, a vaulted passage with a limestone floor.
Right: Limestone quarry in Horn, Öland, 1937, the source of Öland limestone.
Images: Kalmar läns museum
When floors were measured in ells
Long before today’s centimetres and standard formats, stone tiles were measured in ells and fractions of an ell. The Swedish ell was approximately 59.4 cm, close to the length of today’s 60 cm tiles.
Historic names for floor tiles also tell us something about their past. In older Danish usage, square floor tiles were called astrak, or astrag, particularly those made of fired and glazed clay. Swedish limestone tiles were often made in dimensions corresponding to an ell or fractions of an ell. They were laid close together with narrow joints. Whatever the material, the format and the joints shaped the floor’s appearance.
Two formats working together
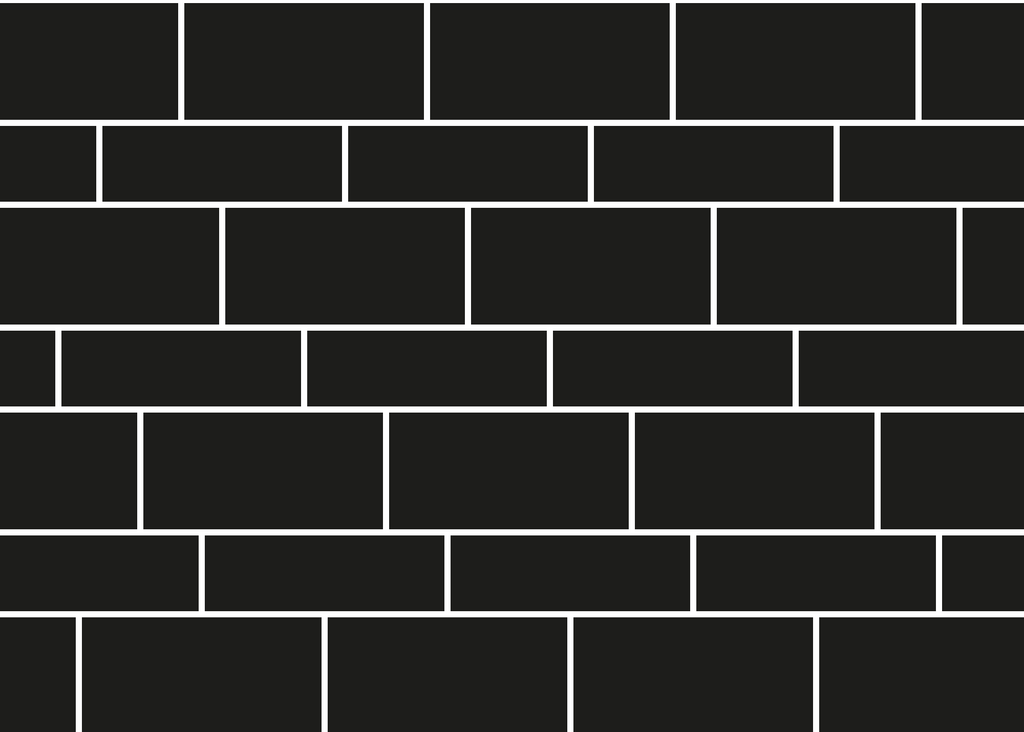
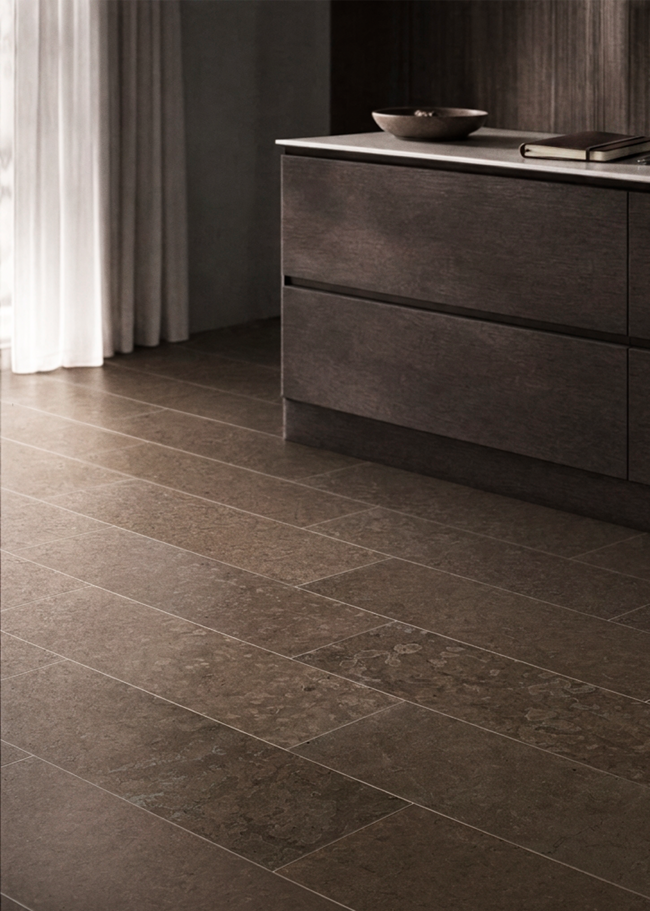
The traditional flooring pattern combines 20×60 and 30×60 cm tiles in parallel rows of different widths, with staggered joints. In our Swedish pattern handbook, this arrangement is called radförband, a coursed laying pattern.
The narrow rows create more closely spaced lines, while the wider rows provide larger areas for the tiles’ patterns and colour variations. Staggering the joints breaks up the crosswise lines while preserving the floor’s lengthwise direction. It is the combination of the two formats that gives the pattern its distinctive character.
How to create the pattern
Alternate a row of 20×60 cm tiles with a row of 30×60 cm tiles for a regular rhythm of narrow and wide rows. Stagger the joints between rows and plan the offset with your tiler in accordance with the tiles’ installation instructions. Take the actual tile dimensions and joint width into account as well.
When narrow and wide rows alternate over the same length, the proportions are approximately 40 per cent 20×60 cm and 60 per cent 30×60 cm by area. For a 10 m² floor, this corresponds to around 4 m² of 20×60 cm tiles and 6 m² of 30×60 cm tiles, before allowing for wastage. Adjust your order to account for the shape of the room, cuts and pack sizes.
Consider dry-laying a small area first. This makes it easier to assess the direction, the offset and how the variations in the tiles work together.
Choose your collection and finish
The 20×60 cm format is available in a Matt finish across all collections except Quartzit. In Limestone Select, you can also choose the Honed finish.
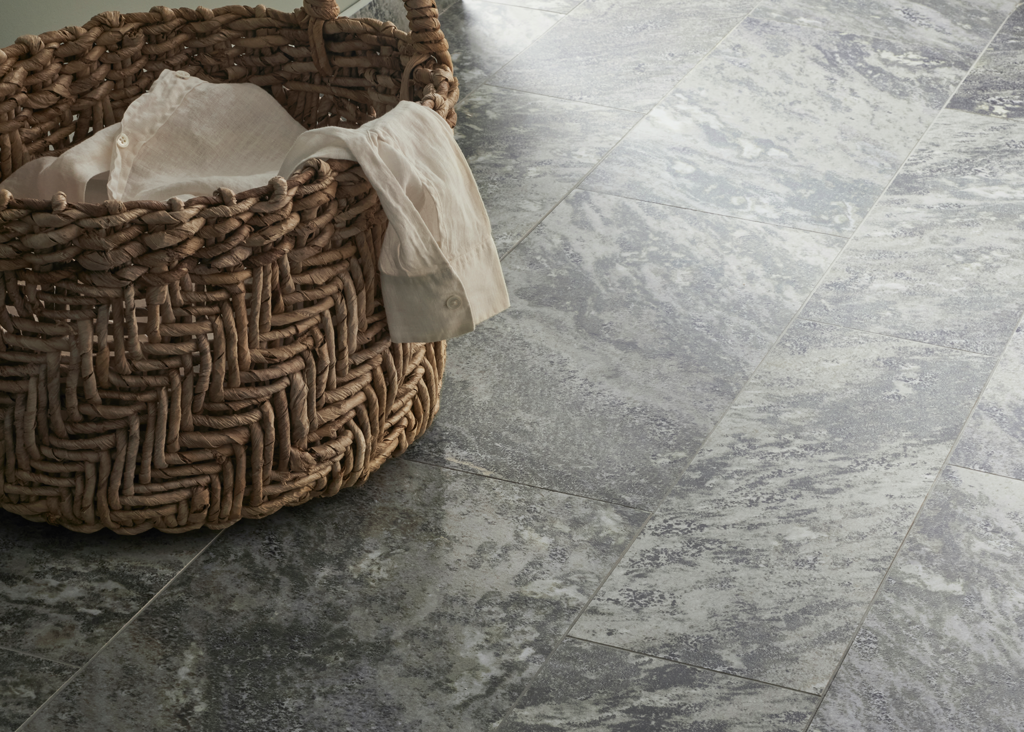
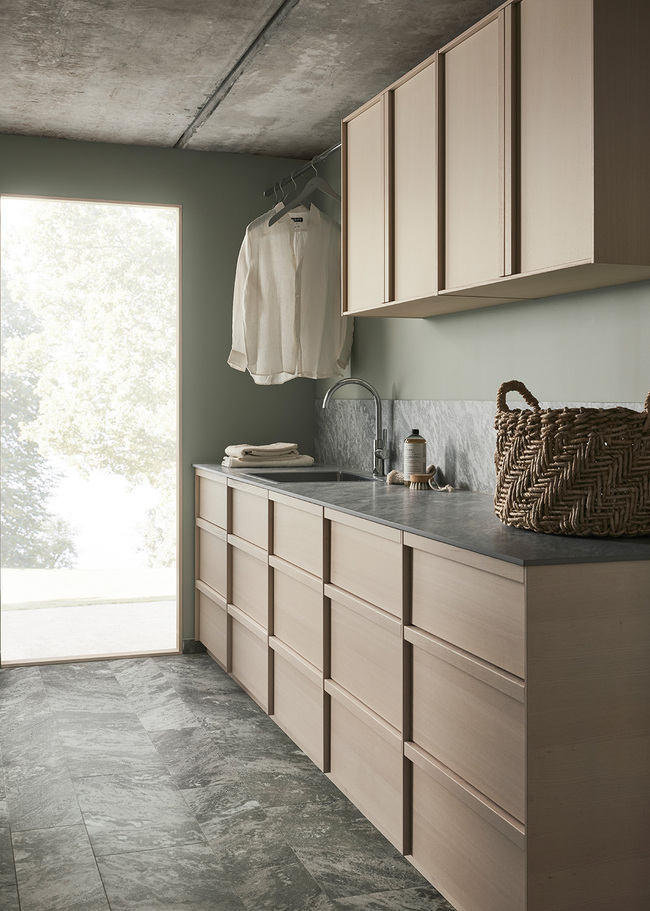
Choose 20×60 and 30×60 cm tiles from the same collection and in the same colour for a cohesive look. Limestone Select Classic is one example where the alternating formats complement the variations in the tiles. Using the same finish creates a uniform feel, while combining Matt and Honed allows differences in light reflection to become part of the pattern.
Make grout part of the pattern
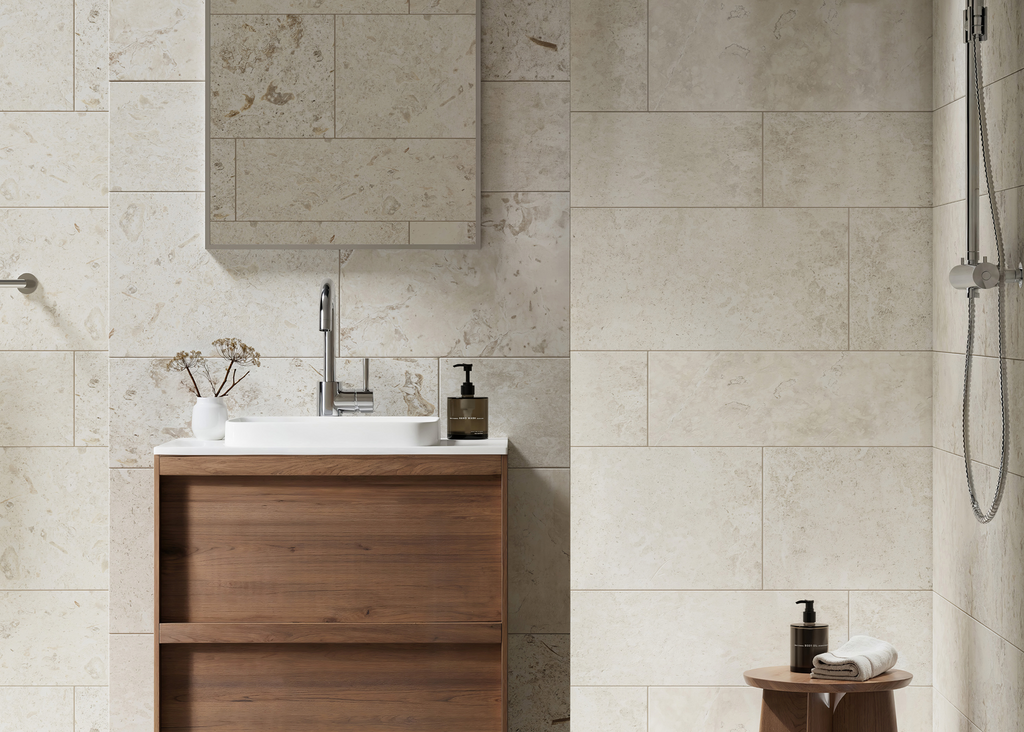
Grout in a colour close to that of the tile allows the variations in the stone effect to stand out and creates a unified surface. Contrasting grout highlights the outlines of the tiles and makes the laying pattern more pronounced. Lay out a few tiles and compare grout samples before deciding.
Discover more laying patterns
You will find more patterns and inspiration in our Pattern Guide. To explore the history and possibilities of patterned tile laying in greater depth, the pattern handbook is available from your Bricmate retailer.